Products
Solutions
Resources
9977 N 90th Street, Suite 250 Scottsdale, AZ 85258 | 1-800-637-7496
© 2024 InEight, Inc. All Rights Reserved | Privacy Statement | Terms of Service | Cookie Policy | Do not sell/share my information

In this topic, you will review the Employee Register using InEight Progress.
The Employee Register is a log of every employee assigned to a daily plan. The register provides a breakdown of which plan each employee is assigned to for a given date, as well as the planned and actual hours for each of those plans. However, when opened you will only be able to see the employees for the daily plans that you are assigned to as either an engineer or a superintendent.
In addition to tracking which projects each employee is assigned to and the planned and actual hours for those plans, the Employee Register also looks for conflicts. For example:
If an employee is assigned to multiple daily plans for a single day, the register flags that employee by highlighting it yellow
If an employee’s total actual or planned hours exceeds the project’s maximum threshold for hours worked in a single day, the resister will flag that employee by highlighting it red
If an employee is highlighted in green, then there are no conflicts identified
The following Step by Step walks you through how to access the employee register.
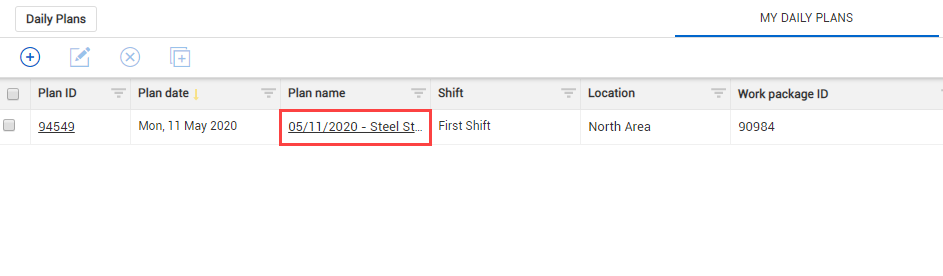
From the Daily Plans home page, open your daily plan.

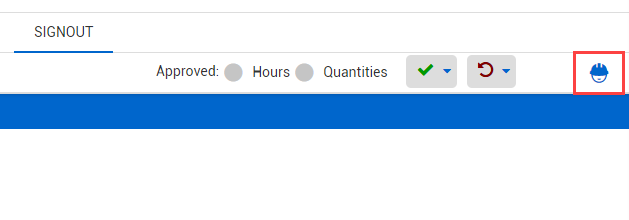
Click on the Employee Register icon in the upper right corner of the page.
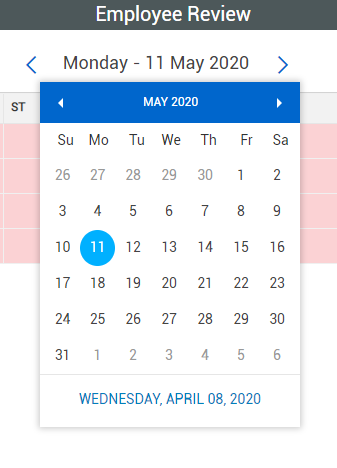
Click on the date near the top of the page. Select the date assigned to your daily plan from the drop-down calendar.
|
Title |
Description |
|
|---|---|---|
|
1 |
Date |
Where you can change the date to view employees for different days. |
|
2 |
View Menu |
Drop-down where you can change the viewset to view either all employees or just those with conflicts. |
|
3 |
Employee Information |
Contains all information for the employee as far as ID, Name and Craft Description. |
|
4 |
Employee Hours |
Contains all planned and actual hours (including ST, OT, and DT). |
|
5 |
Conflicts |
Notes any conflicts for any given employee. |
|
6 |
Notes |
If any notes are associated to an employee, you view them here. |

Upon review of the employee register, it appears that your employee, Joseph Kelly, has had his time entered into two separate daily plans. You now need to go back into your daily plan and zero out his hours to avoid him receiving double pay.
In a scenario like the one described above, a simple mistake becomes a prime example of why the reviewing of the Employee Register is an integral step before approving a daily plan.
The following Step by Step walks you through how to reject an employee’s signout, modify their actual hours, and re-sign them out on their behalf.
From the Daily Plans home page, open your daily plan.
Click on the Signout tab.
Select the employee whose hours you want to adjust, then click on the Reject icon on the right.

You should get a pop-up window asking for a reason for rejection
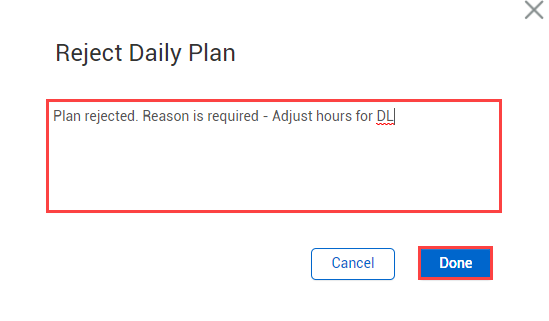
Click Yes.
Select the Time sheettab.
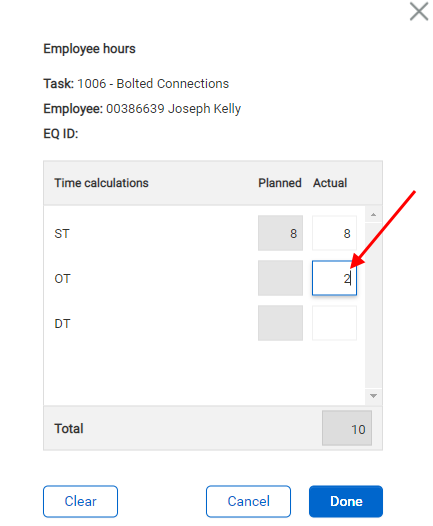
Click in the entry cell for the worker whose hours you want to adjust.
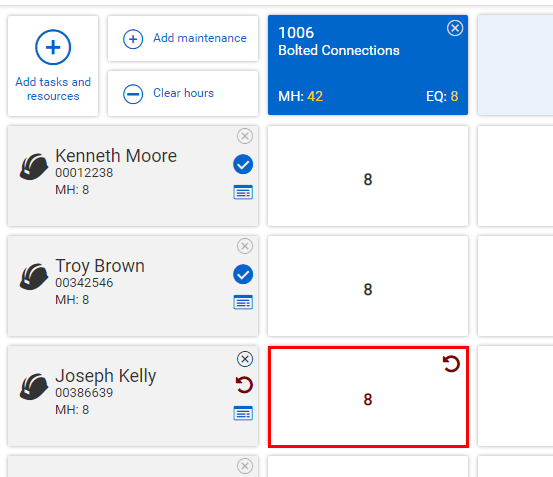
Adjust their hours and click Done.
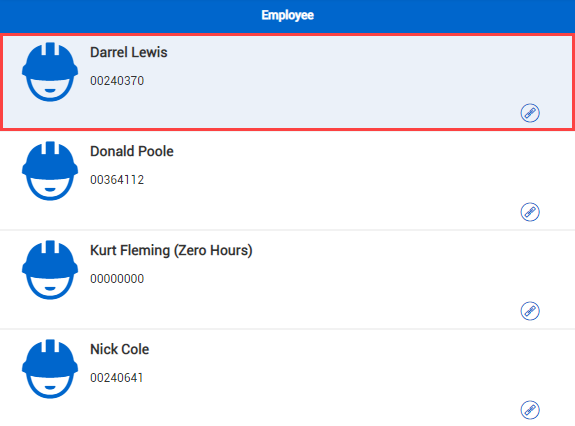
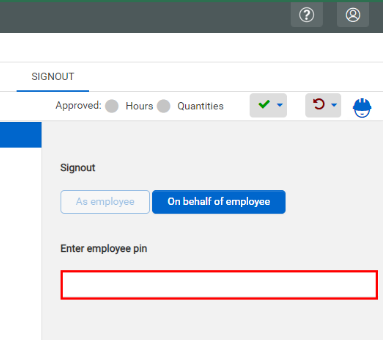
Select the Signouttab.
Select the employee whose hours you've adjusted from the employee list on the left.
Enter the appropriate pin in the Enter employee pin field.
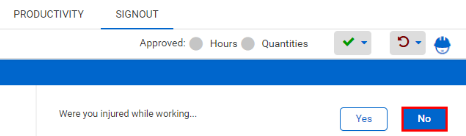
Answer the signout questions.
Click Done.
Additional Information
9977 N 90th Street, Suite 250 Scottsdale, AZ 85258 | 1-800-637-7496
© 2024 InEight, Inc. All Rights Reserved | Privacy Statement | Terms of Service | Cookie Policy | Do not sell/share my information